
Are you wondering about how to transplant a hydrangea? It could be because you just got a hydrangea and need a place to put it, or need to move one.
*This post may include affiliate links. When you purchase items from these links, we will receive a small commission, at no extra cost to you, to help support this website. Thank you for your support! Read more ->
That’s what this article will help you figure out! How transplanting hydrangeas work can seem daunting, depending on the size and how long they’ve been growing there for, but it’s fairly simple once you know the steps!
This post will mostly be about moving a hydrangea plant from one part of a garden to another, but a lot of the ideas will still apply on how to plant a new hydrangea, or move one from a pot either to the ground or to a larger container!
When To Transplant Your Hydrangea
Timing can be really important when moving many plants, hydrangeas included! This can be for a few reasons.
You don’t want the ground to be frozen while trying to dig into it, so it’s better to not be transplanting hydrangeas in the middle of a cold winter.
It’s also a lot easier for you and the plant if it’s in a dormant state, not trying to grow new flowers or leaves at the same time as the planting is occurring.

With those things in mind, autumn or early spring are the best times to plant your hydrangea, whether it’s new or one you’re just hoping to move.
Autumn Transplanting
Autumn is an ideal time to transplant most shrubs or larger plants because they are going into a dormant state. The plant is already getting ready for winter, so it won’t be shooting new growth or get stunted while moving.
Spring Transplanting
Spring is also a fine time to plant your hydrangea plant, especially if it’s a new plant. Early spring is ideal because then it can get settled and still bloom this first season of having it.
This can be slightly more difficult, depending on where you live, because there might not be a big timeframe where the ground is not frozen before the plants start growing.
You may also be interested in: transplanting lavender
Time of Day
If it’s a hot day and there are already flowers or leaves on the plant (like if you purchased a new hydrangea), try to plant earlier in the morning or evening. This way the plant can stay cool while it’s being moved and not dealing with the brightness of the sun at the same time as being moved to a new place.
If the plant is dormant this doesn’t matter as much.
Prepare For Transplanting
With planting anything, whether that’s a succulent or a large hydrangea shrub, it’s important to start prepared! Get all of your tools ready and pick out a spot.
(Read about the best trowels of this year!)
Unless you’re going from one pot to another, you won’t really know how big of a hole to dig, but it’s still a good idea to start with a hole dug so that there’s less work to do while the roots are exposed.
As shrub roots tend to grow out rather than down, it can also be a good idea to loosen the soil around the sides of the hole (like with a pitch fork). This way the plant will have ample room to grow and spread out, instead of becoming trapped in this hole. (If it becomes trapped, it can also be more prone to root rot).
Choose The Right Spot
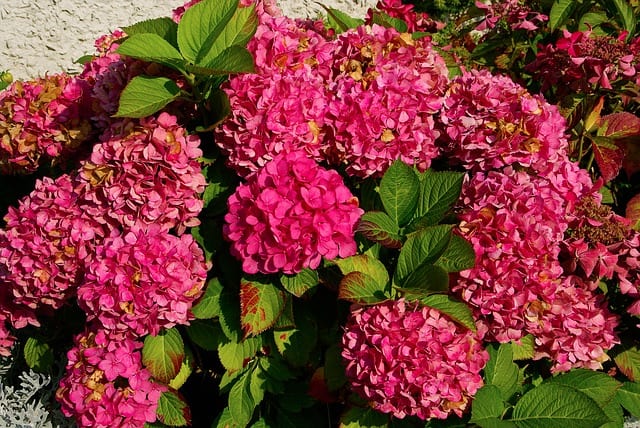
What type of hydrangea do you have? They all have slightly different needs on sunlight. Most like mostly sun with some shade during the hot summer days. Also think about how big your hydrangea will grow to be. Some stay relatively small (like the little lime hydrangea) but others grow to be much larger shrubs (like French hydrangeas). Ensure you are giving it plenty of space to spread out.
Get The Soil Ready
This is probably the most vital part of transplanting hydrangeas – getting the soil ready! Make sure you have new soil on hand for when you’re planting it in. This will give it new nutrients, and be hopefully well draining to help the hydrangea not succumb to root rot.
If you’re choosing to use some composted soil, have that on hand.
Transplanting Between Pots
If you’re transplanting hydrangeas between pot sizes, be sure to go up a size in pot so that there’s more space for the plant to grow. Make sure that the pot it’s being transplanted to has a lot of drainage holes!! This is very important when it comes to hydrangeas, because otherwise they can succumb to root rot if there’s excess water.
Get your soil ready, and add a layer to the base of the pot. Lightly water this soil.
Dig Up The Hydrangea
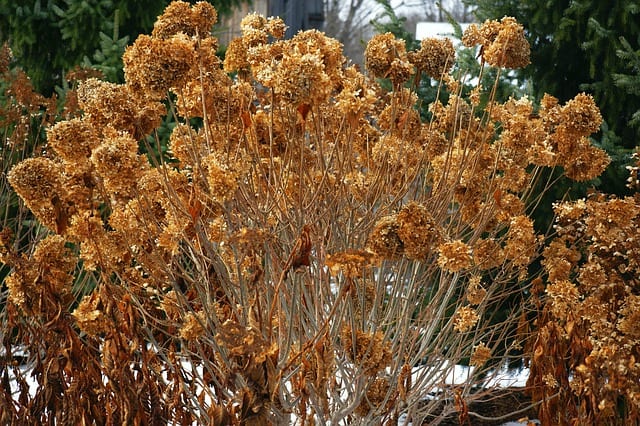
Now is the time to dig up your hydrangea! There will be a root ball that needs to be dug up that will be fairly large. To avoid accidentally hitting that with your shovel, aim for the edge of the hydrangea bush in the soil.
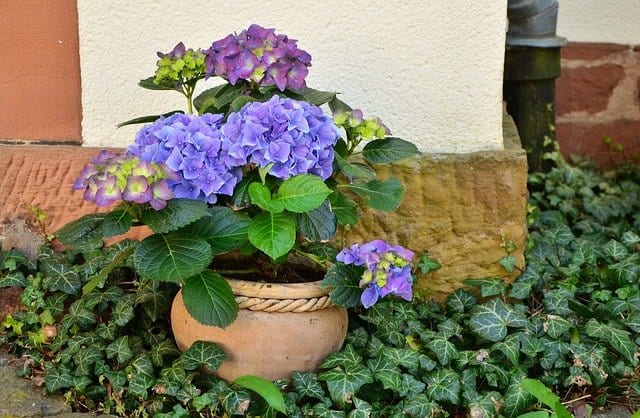
(If your hydrangea looks like the image above, prune the flowers down to make it easier to move)
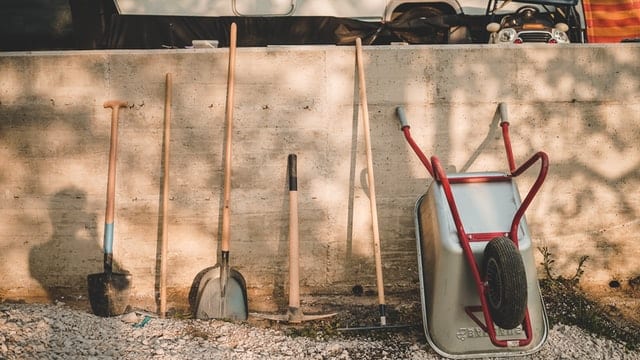
Depending on the size of hydrangea you’re transplanting, this plant may be heavy and you might want to enlist in another person or a wheelbarrow to assist in moving it from one spot to the other.
Remove Excess Soil
Once you’ve gotten the hydrangea out of the ground, remove some of the soil from inside the root ball. Use gloved hands to gently remove some of that soil.
This can help reduce the time it takes to have the plant settle in the new location.
Plant the Hydrangea
Now is time for transplanting hydrangeas! You’ve got a hole semi dug up, and the hydrangea out of the ground. Finish digging out the new hole for the hydrangea, about twice the size of the current root ball in width and height.
Now put the hydrangea in the hole you’ve dug! It’s important to not fill with new soil or compost below the hydrangea roots because it can kind of close off the edges and make it so water can’t escape further into the ground.
Once the hydrangea is in the ground, fill the sides with new well-draining soil and top with a layer of compost. Make sure the stem of the hydrangea is coming out of the ground at the same level it was before.
Nutrients and pH
These hydrangeas prefer a fertilizer of phosphorous, and will not thrive with a nitrogen based fertilizer.
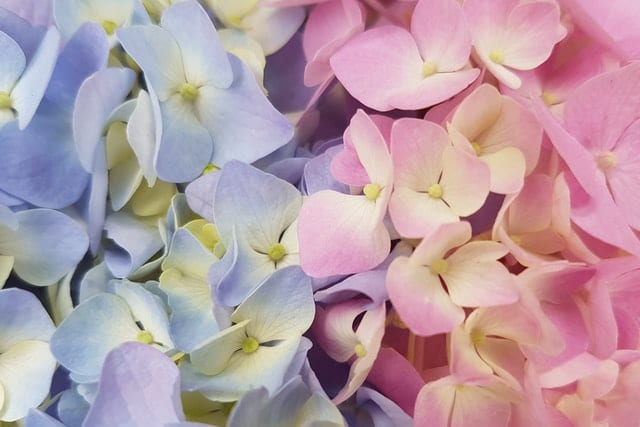
Some of these hydrangeas (the old wood variety) will change flower color based on the pH of the soil. They all like an acidic soil, but if it’s in the 5.2 range or more acidic, you will get beautiful blue flowers. If it’s closer to a neutral or around 6.5pH, the flowers will be pink with these varieties.
Varieties like the smooth hydrangea will not change color based on pH, but do prefer an acidic area.
Watering
Now that your hydrangea has been moved, give it a good watering! This will help the roots get used to the new ground and it’s always important to water plants after they’ve been planted.
If this is being planted in autumn, you shouldn’t have to water again until spring. If this is being planted in spring, give it regular watering so that it can get ready for the season of growing and blooming, as this plant will be coming out of dormancy shortly!
Transplanting hydrangeas isn’t that difficult, and now you can have the hydrangea grow in its new spot happy and healthy!
Pin It!
Want to keep these plant ideas for later? Save them to Pinterest!

