
If you’ve got a monstera as a houseplant, you may be curious about repotting monsteras! Repotting your monstera plant is a great way to give it the nourishment it needs, and help it thrive.
*This post may include affiliate links. When you purchase items from these links, we will receive a small commission, at no extra cost to you, to help support this website. Thank you for your support! Read more ->
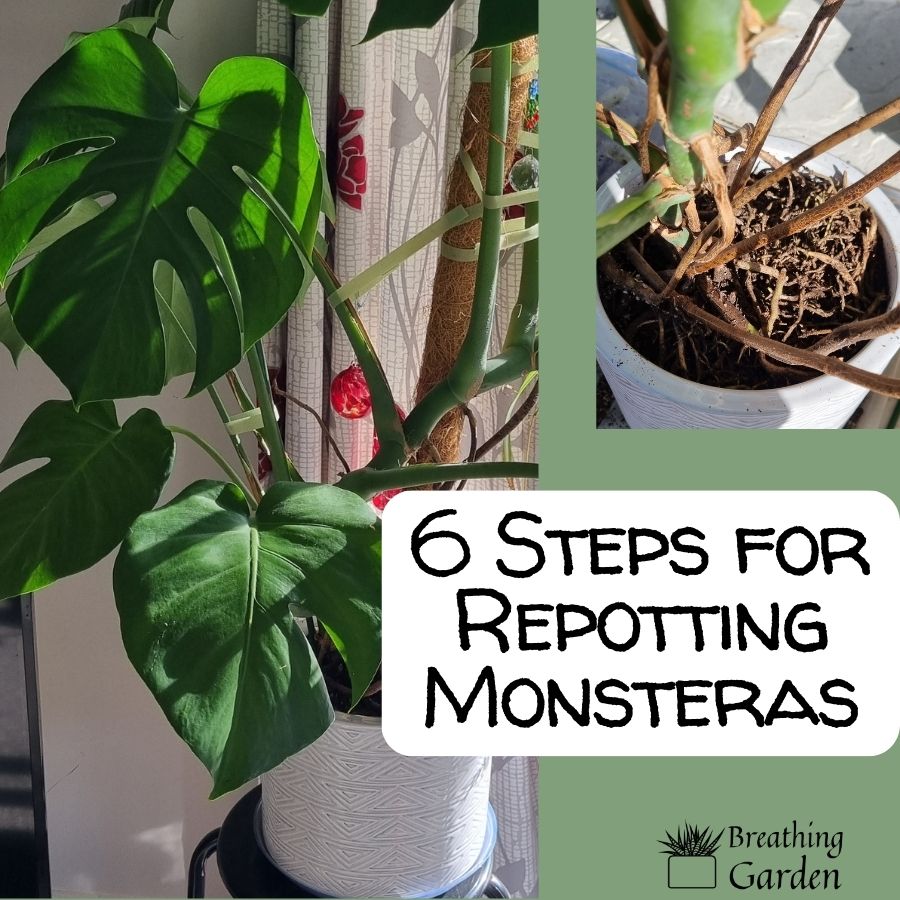
In this guide, we’ll discuss how to repot a Monstera step-by-step, including images that show you just what to do (or not to do)! We’ll also provide some essential tips and tricks for successful monstera repotting.
Before You Start Transplanting Your Monstera
Before you start the repotting process, there are a few things to keep in mind.
- Do you actually need to repot your Monstera? They do like to be partially root bound, so don’t need to be repotted as often as other plants. Could you just fertilize or top up the pot with fresh soil instead? (Monsteras only need to be repotted about every 2 years – mine was 1 1/2 years)
- Choose the pot you’re moving your monstera into. You can keep it in the same pot, but trim the roots and give it fresh soil is also an option! Otherwise, choose pot that has a drainage hole and is slightly bigger than the current one. Too big of a pot will cause the plant to go into shock.
- Wait until your monstera is actively growing before transplanting it. That way, the plant has enough energy to survive and thrive in its new home. This means that you want to repot in late winter, spring, or early summer. Otherwise you may notice a decline in your plants health initially. (I don’t suggest repotting this plant in autumn!)

- Give yourself ample time in the day to repot your monstera. Depending on the type of pot and it’s root bound-ness, it can take a while to repot (repotting my monstera took me 2 hours, normally repotting a succulent takes 10 minutes).
4 Things To Know With Repotting a Monstera
- If you don’t have a plastic pot or something that is squeezable, it’s going to be much more difficult to remove the plant from its current pot.
- If it’s extremely root bound, you can trim back some of the roots. Be careful with this as to not cut off too much.
- If you do cut back the roots, don’t thoroughly water your plant right away. Lightly water the plant instead. This because plants require time to adapt, and if you overly saturate the soil, it can lead to suffocation and eventual root rot.
- Your Monstera may lose a few leaves after it’s been repotted. With the right care, it will start growing new leaves again. This is why it’s especially important to repot during growing season. (Keep reading about transplant shock)
With all of these things in mind (hopefully) before you start, here are the steps for repotting a monstera!
How To Repot a Monstera
Step 1: Prepare the Necessary Items

Make sure you’ve got all the tools you need before you start this process. If you’ve got a baby monstera, you should be okay on your own. But if you have a larger plant (the one in the images is 3 feet tall from soil to top of the highest leaf), get a buddy to help you out!! I didn’t and it was a lot harder on the plant.
What you need: indoor plant soil, shovel, CLEAN pruning shears, a new pot (if you’re going with a new one), gardening gloves, water, and plenty of space to get messy. (read how to clean garden tools)
Keep reading: 4 houseplants with big leaves
Step 2: (if you can) Prepare the New Pot
If you are moving the plant to a new pot, and not just trimming roots and putting it back in the same pot, prepare the new pot. Fill it about 1/4 of the way with soil, and gently water it.
If you are using the same pot, find a container or tub to put the plant in for the between period.
Step 3: Remove The Monstera From it’s Current Pot
If you can, this is the time to get a buddy to help you. Get them to carefully hold the stem of the plant near the soil while while you get the plant out of the pot.
If you’ve got a moss pole that the monstera has attached to, treat it as part of the plant. If you have other supports for the plant and can remove them, do this now.
If it’s a plastic pot, squeeze the sides to help loosen the roots and gently pull the plant (via the stem) out of the pot.
If it’s in a different material pot (the one in the images is ceramic), gently use a shovel or something similar to try and loosen the roots from around the inner edge of the pot.

(If you’ve ever baked and gotten something like brownies stuck to the sides of the pan, this is the same motion to use).
Carefully work your way around the edge of the pot deeper and deeper until the plant releases from the pot.
This step, depending on the pot and how root bound the plant is, will take the longest.
Step 4: Check The Roots and Trim if Necessary
Inspecting the roots while repotting monstera plants is an important step. Ideally, healthy roots are white or light tan and firm to the touch. If you notice any roots that are soft, mushy, or darkly colored, this could be a sign of root rot, which is a serious problem. Dead roots, on the other hand, appear shriveled, dry, and brittle.
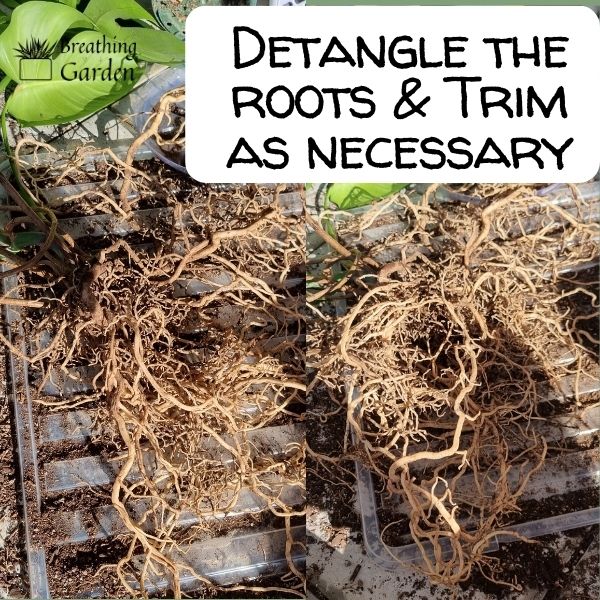
To check the roots, gently shake off as much soil as possible, and carefully spread the root system out so you can have a good look. If you see any signs of rot, remove those roots to prevent the rot from spreading. Use clean, sharp pruning shears to cut them away.
Trimming the roots is sometimes necessary, especially if your monstera is severely root-bound (like the one in the images). It’s also important to do if you’re moving it back into the same pot, where it does not have any more space.
However, be careful not to overdo it. A good rule of thumb is to remove no more than 20% of the roots. Always make clean cuts and avoid tearing the roots.
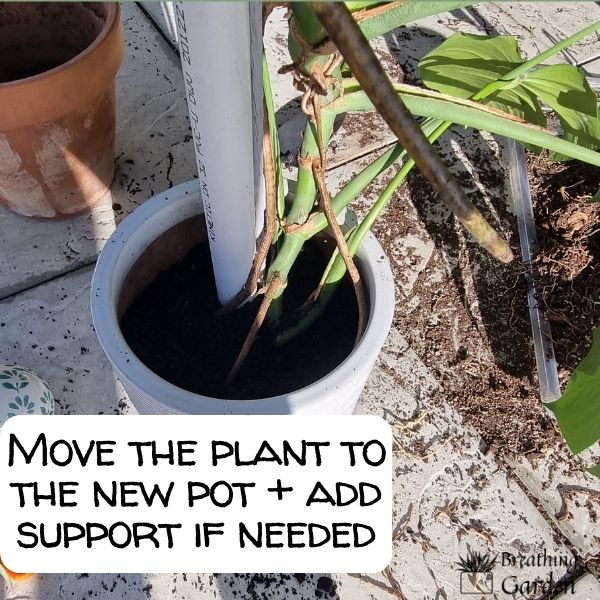
Step 6: Place Your Monstera in the New Pot
With the roots inspected and trimmed, it’s time to move your monstera to its new pot. If you’re using the same pot, add in fresh soil to the bottom (like in step 1).
Very gently, put your monstera in the pot, making sure you get all of the roots inside.
Gently cover the roots with soil, being sure to spread it evenly around all sides and having them fully covered.
Lightly water the plant, then add more soil if necessary. Be careful to not overwater at this stage!
You may be interested in: Signs of an overwatered monstera
Step 7: Final Steps for Transplanting Monsteras
If you had supports for your plant, add those back in or give it new supports depending on how your repotted monstera is looking.
Then move your Monstera back to where it normally lives.
Be sure to check on it regularly and test the soil for if it needs more water. If the soil feels soggy to the touch, after a week, remove some of the top soil and replace it with dry soil.
You may notice it drop a few leaves, or not grow any new leaves in the next month to come, but that’s ok! It’s just getting settled in again.
In Summary: How To Repot A Monstera
Repotting a Monstera can seem like a daunting task, but with a little patience and the right tools, you can ensure your plant thrives. Remember to not overly trim the roots and to avoid excessive watering immediately after repotting.
It’s normal for your Monstera to lose a few leaves or halt growth temporarily as it adjusts to the new environment, but with regular care and monitoring, your plant will soon return to its vibrant, growing self again. Good luck and happy planting!
